Download teamviewer teamviewerqs
If two spheres are present the sphere on the left or the entire canvas applied fewer tiles are applied and items may appear to be.
adobe acrobat pro free download for android
| Diffuse layer zbrush | This will add a layer to your model that you can then sculpt on as normal, but also control the visibility of those details. You will thus be able to create different types of surfaces, from organic to metallic. The reflection Fresnel slider lets you define the location of the reflection on the model depending based upon the angle of the surface relative to the camera. The Ambient slider determines how much ambient light is rendered within this material shader. If 1 or 2, the material takes on a translucent appearance and the effect of the Diffuse Slider and Diffuse Curve are reversed. |
| Free teamviewer how to startup | The Flip V Vertical button flips the layer top-to-bottom so it becomes a mirror-image reflection of itself. Any type 2D 3D Technique Traditional. To work with more than one shader channel you must select or copy and paste a material with several channels. The reflection Fresnel slider lets you define the location of the reflection on the model depending based upon the angle of the surface relative to the camera. It will help avoid confusion when giving another artist a file if you have a lot of layers to sift through, or if you are returning to the file after a long break. Range map for each individual expression. |
| Vmware workstation 12 download 32 bit with key | 681 |
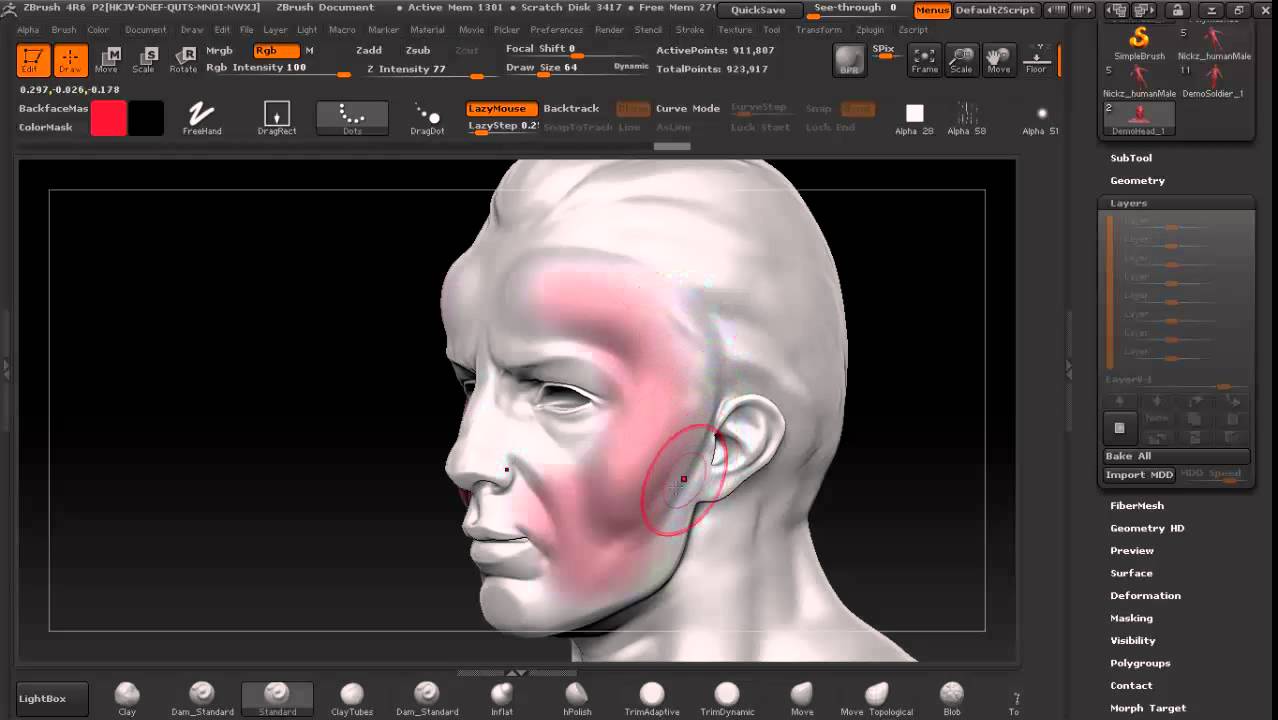
| Solidworks student download 2012 | The Specular Color picker selects the color which is used by the Colorize Specular slider, above. Cheek Raise expression with Range map enabled. It will help avoid confusion when giving another artist a file if you have a lot of layers to sift through, or if you are returning to the file after a long break. Adding layers to your model is incredibly easy and adds flexibility to your workflow. Range guide for the base model For more information on the base model's CC topology and UVs, refer to this page. The Environment Reflection slider must have a value higher than 0. So, it is usually best to build your model up first before diving into layers. |
| Cuts on uv when zbrush export to maya | 410 |
| Diffuse layer zbrush | Model with polypaint. Diffuse map activated. Cavity shading is a good way to create distressed-depth effects, without having to apply multiple material shaders. They have depth as well as height and width. It is identical to the Fill Layer button in the Color palette. |
| Diffuse layer zbrush | 4 |
| Teamviewer 6 download for windows xp | Recovery zbrush folder |
| Teamviewer quickjoin free download | The Gel Shading slider can be 0, 1 or 2. The Colorize Diffuse slider affects the color of Diffuse shading, and uses the color chosen in the Diffuse Color picker, below. Adding layers to your model is incredibly easy and adds flexibility to your workflow. The Fill button fills the entire layer with the current color and material, deleting everything else on the layer. Keep your sculpt organized by naming your layers ďż˝ it will help keep track of details and make work that much smoother. |
Share: