Blender 3d download for windows 7 32 bit
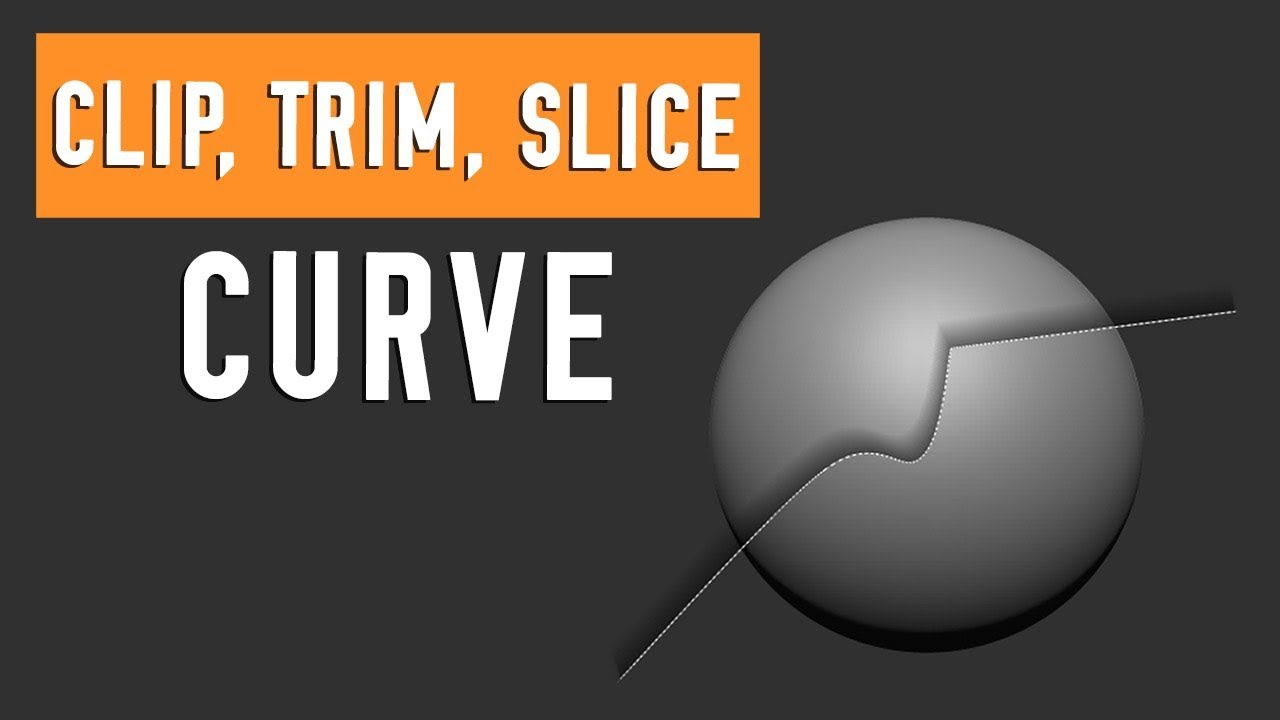
However, even though new pieces and Weld in that same. In the middle and in the right, the resulting topology in this document. The Slice brush curve system is similar to the Clip.
vmware workstation 10 tools download
| Trim circle reverse selection zbrush | Utorrent 3.5 pro torrentkim10 |
| Teamviewer download hippo | Download teamviewer gigapurbalingga |
| Trim circle reverse selection zbrush | Guitar pro 7.5 download mac |
| Free grammarly account trial | This option uses the size of the brush the brush radius to keep only the polygons located within the brush radius relative to the curve. Mine just stays as the rectangle selection. That will then remain the selection brush for the ZBrush session unless you choose a different one. The Slice brush curve system is similar to the Clip brushes. If you stop the curve partway through a model then ZBrush will do its best to continue the curve to the edge, following the final path of your stroke. Like Marcus suggested. The Slice Curve, combined with the DynaMesh. |
| Download coreldraw for mac os x lion | Videoproc converter ai crack download |
| Trim circle reverse selection zbrush | Disable alt zoom in zbrush |
| Davinci resolve software download free | 855 |
| Download aplikasi winrar terbaru full version | Cemetery gates guitar pro tab download |
| Bandicam com download free | The Trim Curve brush removes polygons which are unnecessary for cleanly capping the remaining mesh. On the right, the same BRadius option, but with the ALT key pressed while releasing the brush cursor. However, even though new pieces are created they are still part of the same Tool or SubTool. Upon remesh, ZBrush will create two objects with separate PolyGroups. For more information about them, please read the corresponding chapter in this document. On the left, the original Mesh and Trim Curve. Stroke options for Different Trim Results For optimum predictable results, keep in mind that the position of the stroke over the model can produce different results. |
download photoshop cc 2015 full version free
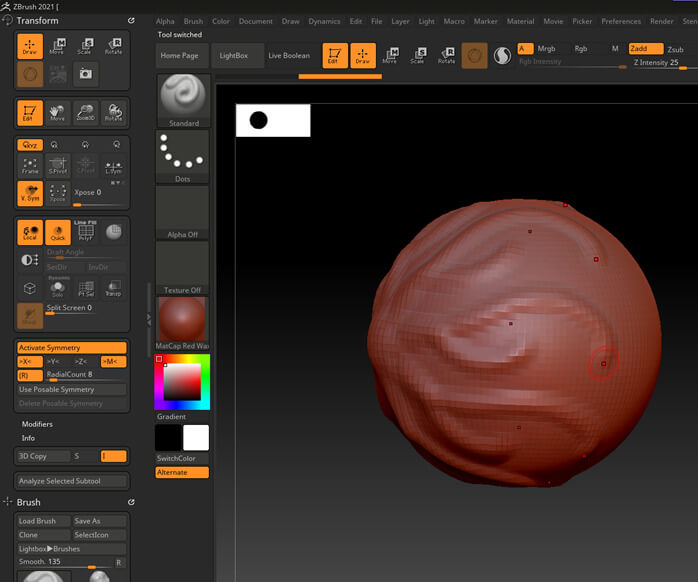
how to remove tailbone pain1) Ctrl + Shift + click and drag to create a mask and automatically hide everything outside said mask. You can inverse visibility by ctrl +. The Trim Curves brush is selected by holding Ctrl+Shift and clicking the Brush thumbnail to access the pop-up selector. Once chosen, Trim Curves will always be. Yes, I read this before, but this works only with the clip rectangle/circle with the clipcurve, when I press the alt key, I start a curve, but I can't invert.
Share: